Live streaming
Stream a camera or a screen from any browser to any display. Video travels peer-to-peer over WebRTC. The server only relays the connection setup.
Requirements
- A user account with the streamer or admin role.
- A secure context: the sender must use
https://, orhttp://localhoston the server machine itself. See HTTPS. - The sender and the display machines must be able to reach each other on the network. This is normally the case inside a LAN.
Send a stream
- Open
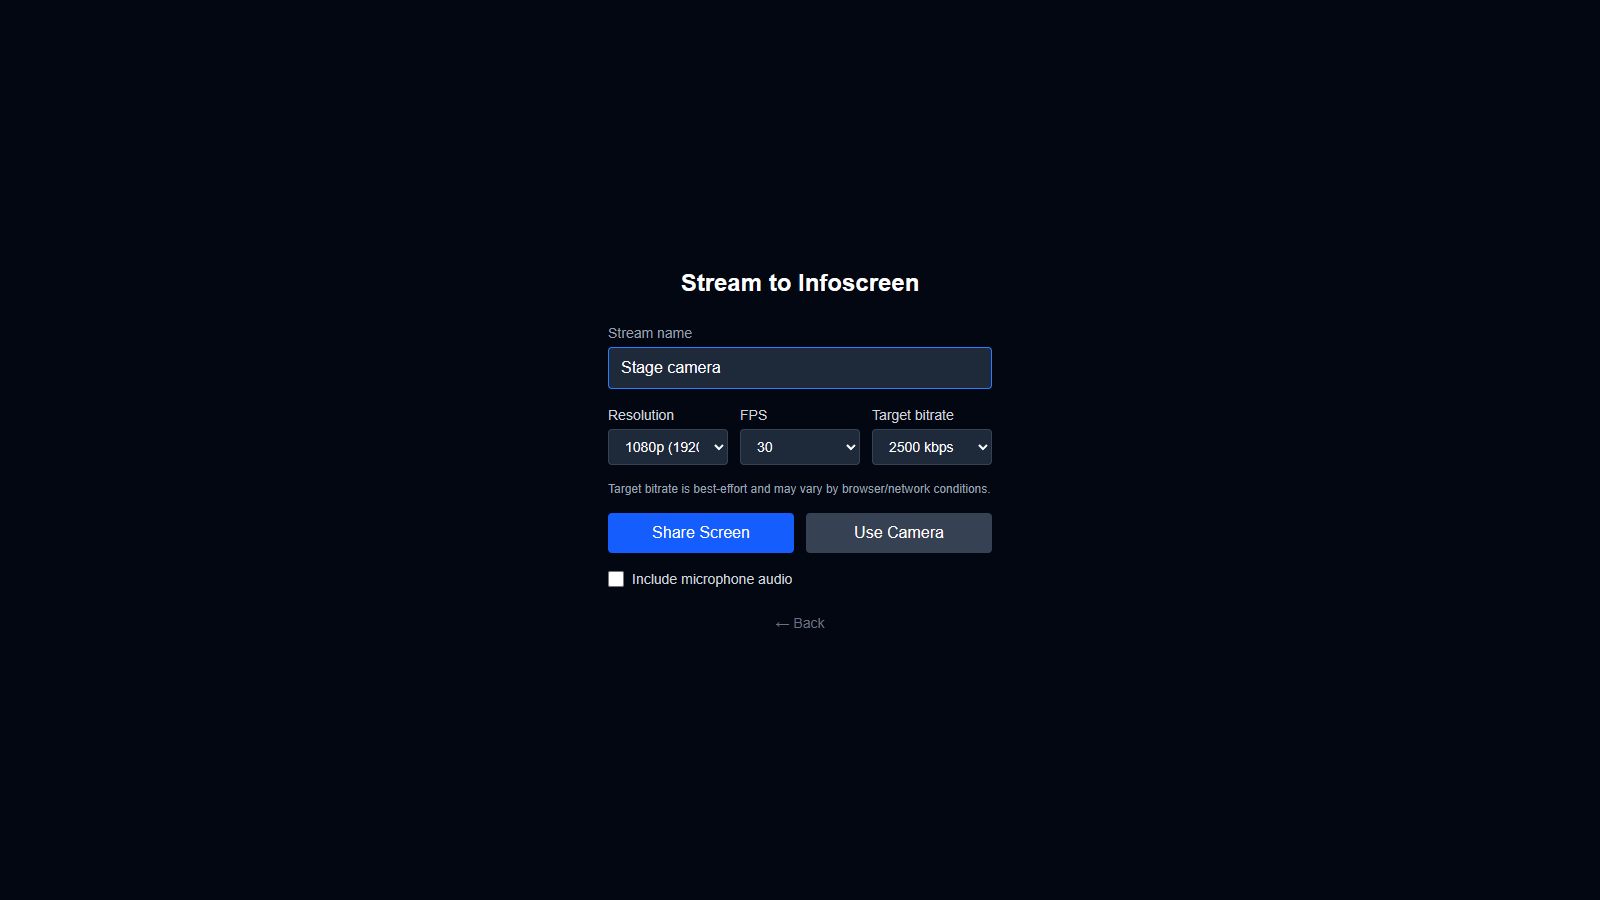
/sendand sign in. - Enter a Stream name.
- Optionally choose the Resolution, FPS and Target bitrate, and tick Include microphone audio.
- Click Share Screen or Use Camera. On phones you can switch between the front and back camera.
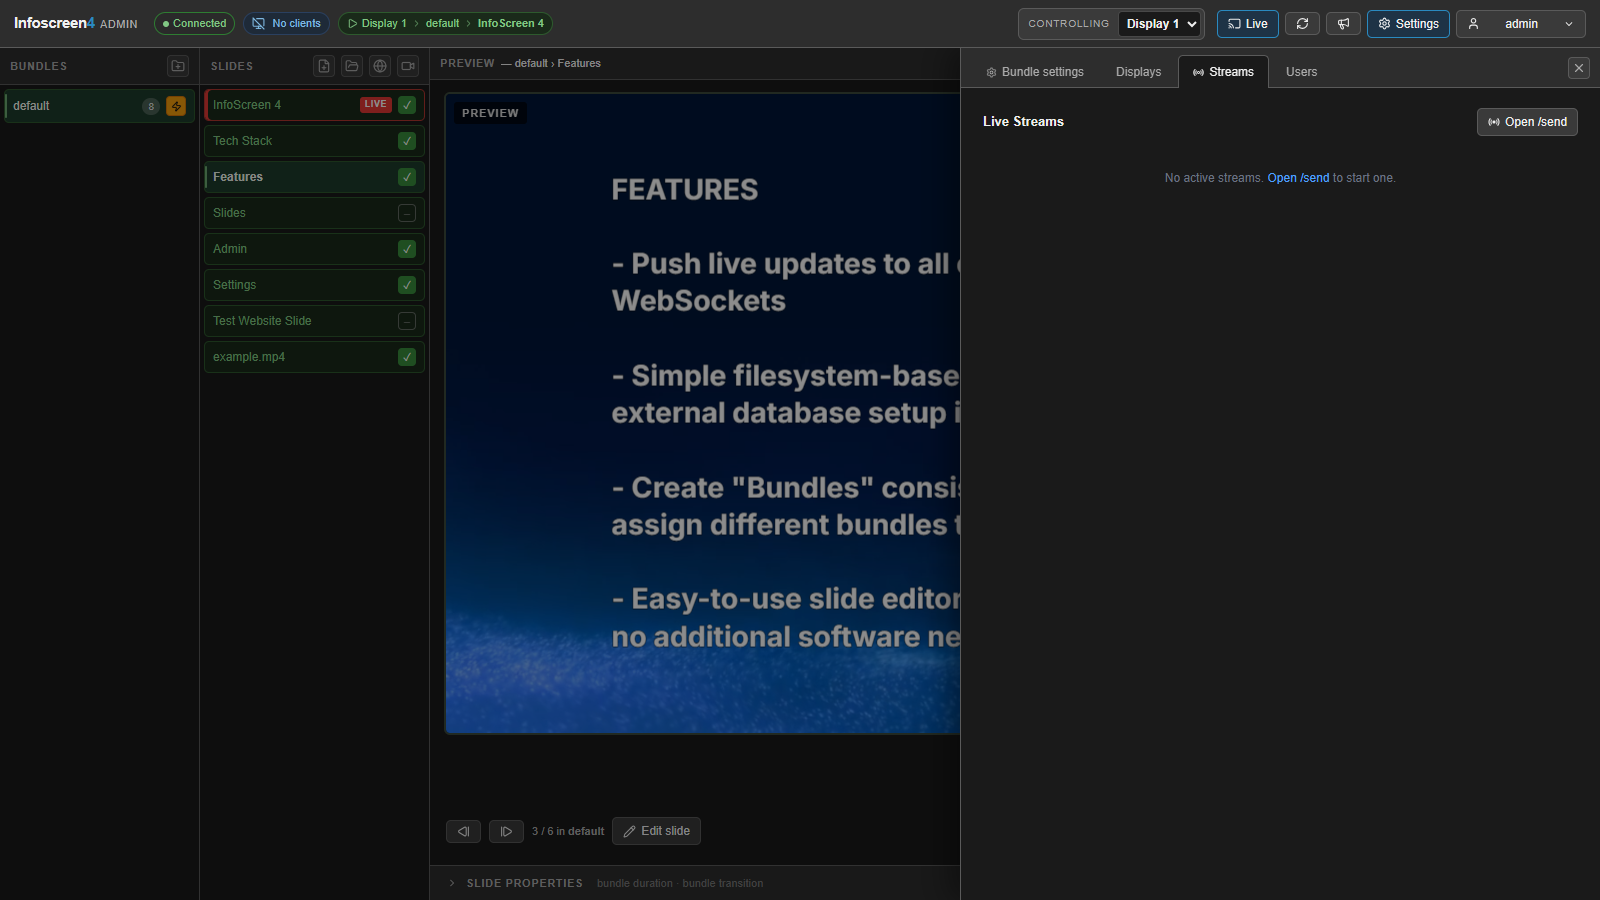
The stream now appears in the admin’s Streams panel.
Show a stream on a display
In /admin, select the display, open Streams in the header and click Show on display. The stream covers the slides until you click Clear or the sender stops.
Display options
The top of the Streams panel has two options for the selected display. Both are saved per display.
- Auto-show new streams: every new stream appears on the display right away, without clicking Show on display.
- Multiview: the display shows several streams at once in a grid, as square as possible: two side by side, three or four as 2×2, five or six as 3×2, and so on. Show on display adds a stream to the grid and Clear removes only that stream. Without multiview, a new stream replaces the one showing. Turning multiview off keeps only the newest stream.
With both options on, every sender joins the grid as soon as they start.
The target bitrate is best effort. The actual quality depends on the browser and the network.